How to classify a vulnerability?
Why classify a vulnerability?
Horusec is a SAST tool and you may find some vulnerability that, in fact, it is not one.
For example, a test file that you wish to verify if the database connection is correct. Because it is a test scenario, Horusec will detect this vulnerability. To avoid this situation, you have to classify it in order to ignore this specific vulnerability.
Classification Types
-
False positive
- Vulnerability found is wrong, because it is accused in a test file or it is not a vulnerability in fact, and is a safe code.
-
Accepted Risk
- Vulnerability that was accused, but in the moment, you don’t have the option to correct it, so it is classified as accepted risk to move forward on the daily process.
-
Corrected
- Vulnerability that doesn’t exist and can be considered as corrected.
-
Vulnerability
- A possible security failure found and accused by the analysis.
How to classify?
There are two classification’s mode on Horusec, see:
1. CLI
With CLI, you can quickly classify a vulnerability overwriting what was configured by the web application. But the classification won’t be reflected on your application, because it is valid only on the local the analysis was made.
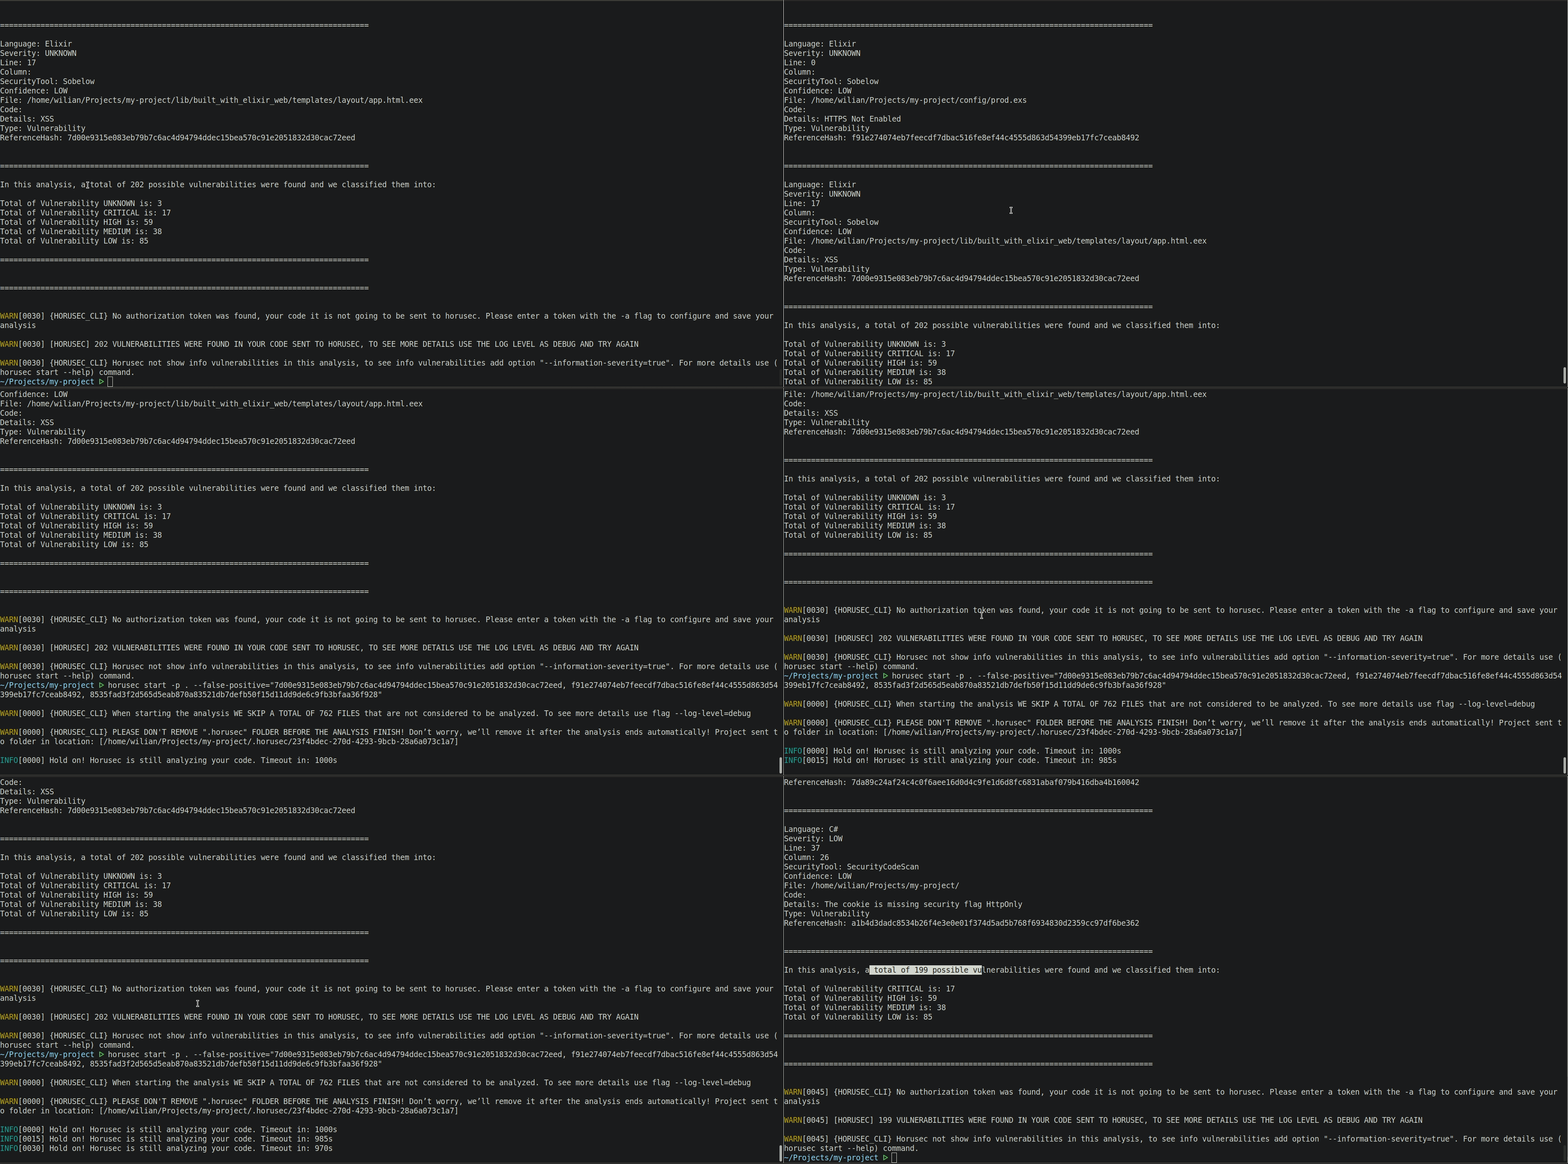
When an analysis ends, you will receive a reference of an only hash for each vulnerability that means:
- Vulnerable code;
- Vulnerable line;
- Vulnerability’s details;
- File directory where it is vulnerable.
After that, you will use this hash to classify between false positive or accepted risk.
Through CLI, you can classify by:
- Flags;
- Environment variables;
- Set files.
The more recommended is through set file, as it is shown on the example below:
{
  "horusecCliFalsePositiveHashes": [
    "HASH1",
    "HASH2"
  ],
  "horusecCliRiskAcceptHashes": [
    "HASH1",
    "HASH2"
  ]
}
See a complete example using Flags:

2. Web application
The web application is the most recommended classification, given that CLI acquire the settings from graphic interface and, because of that, you will have an overview of the vulnerabilites, however it is necessary make an integration with an authorizarion token so this functionality can be applied.
Now, to classify through your web application, follow these steps:
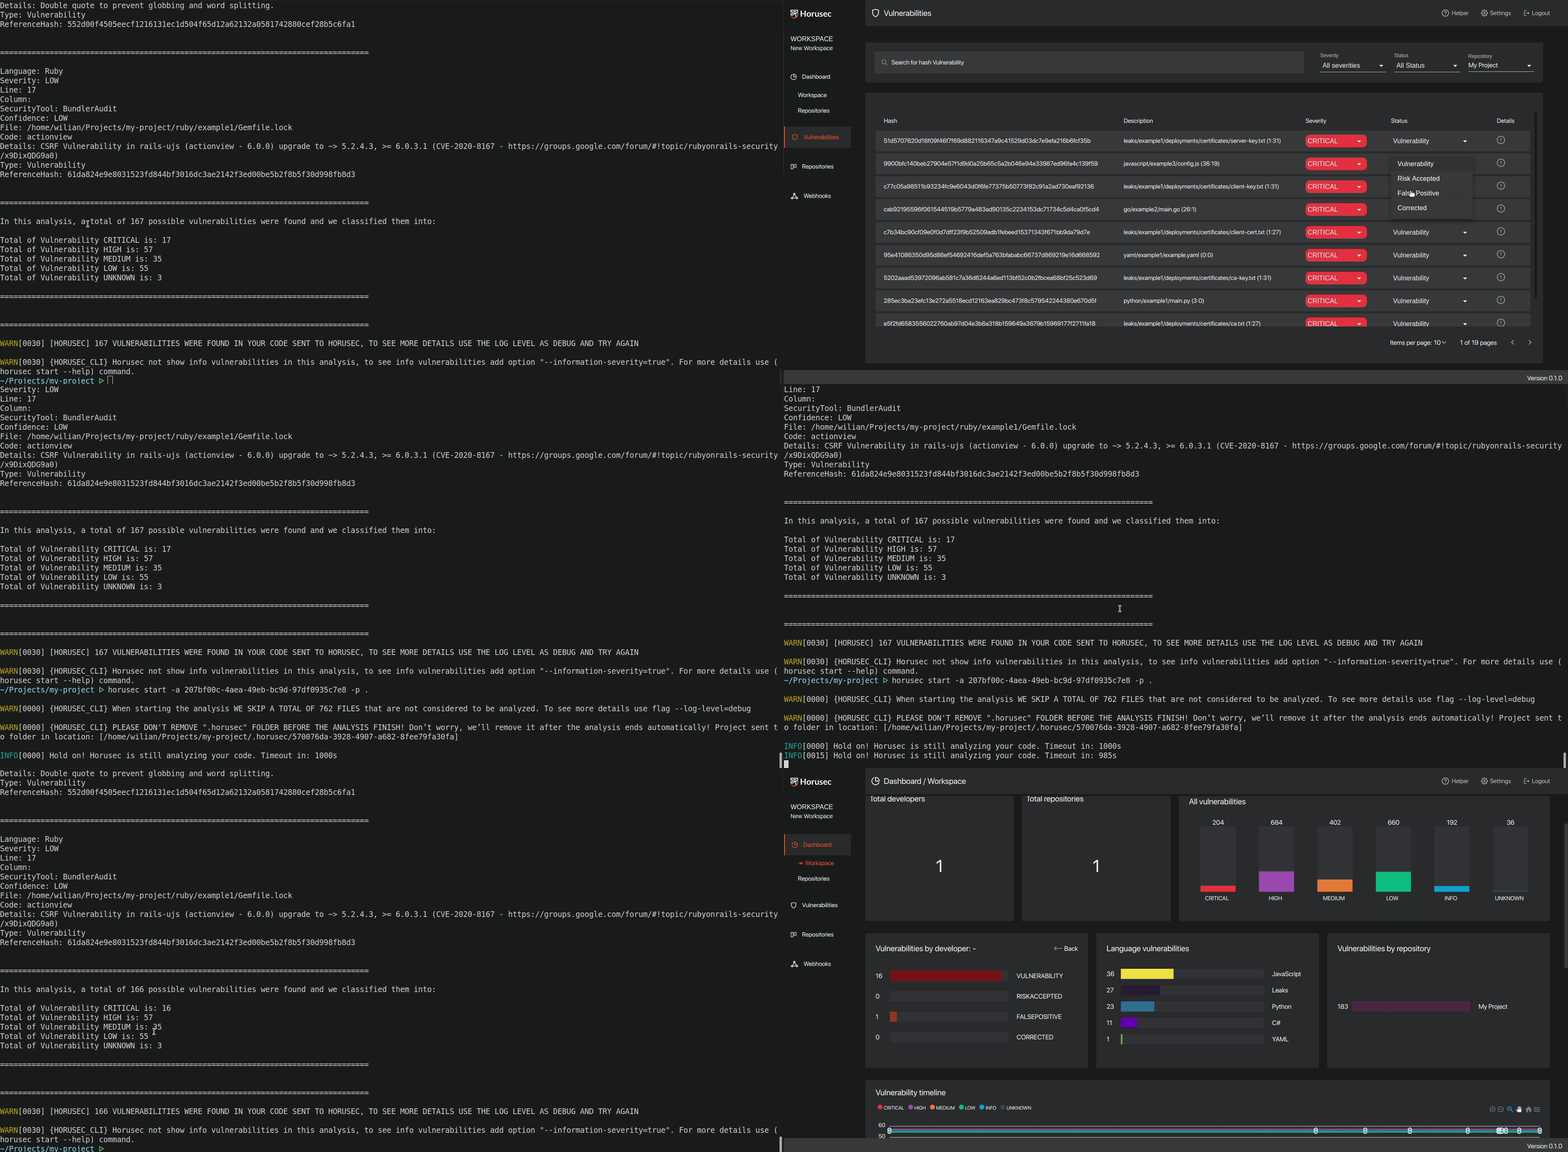
Step 1: When you log in and choose a workspace on the web application, you will see a vulnerability’s optin on the menu’s left side, as it is shown on the image below:
Step 2: Once you access it, you will see all the vulnerabilities found by the analysis of the selected repository:
Step 3: Now, change the type you wish. On the next analysis, the type will be changed:
See a complete example using the Web application:

Feedback
Was this page helpful?
Glad to hear it! Please tell us how we can improve.
Sorry to hear that. Please tell us how we can improve.